Share
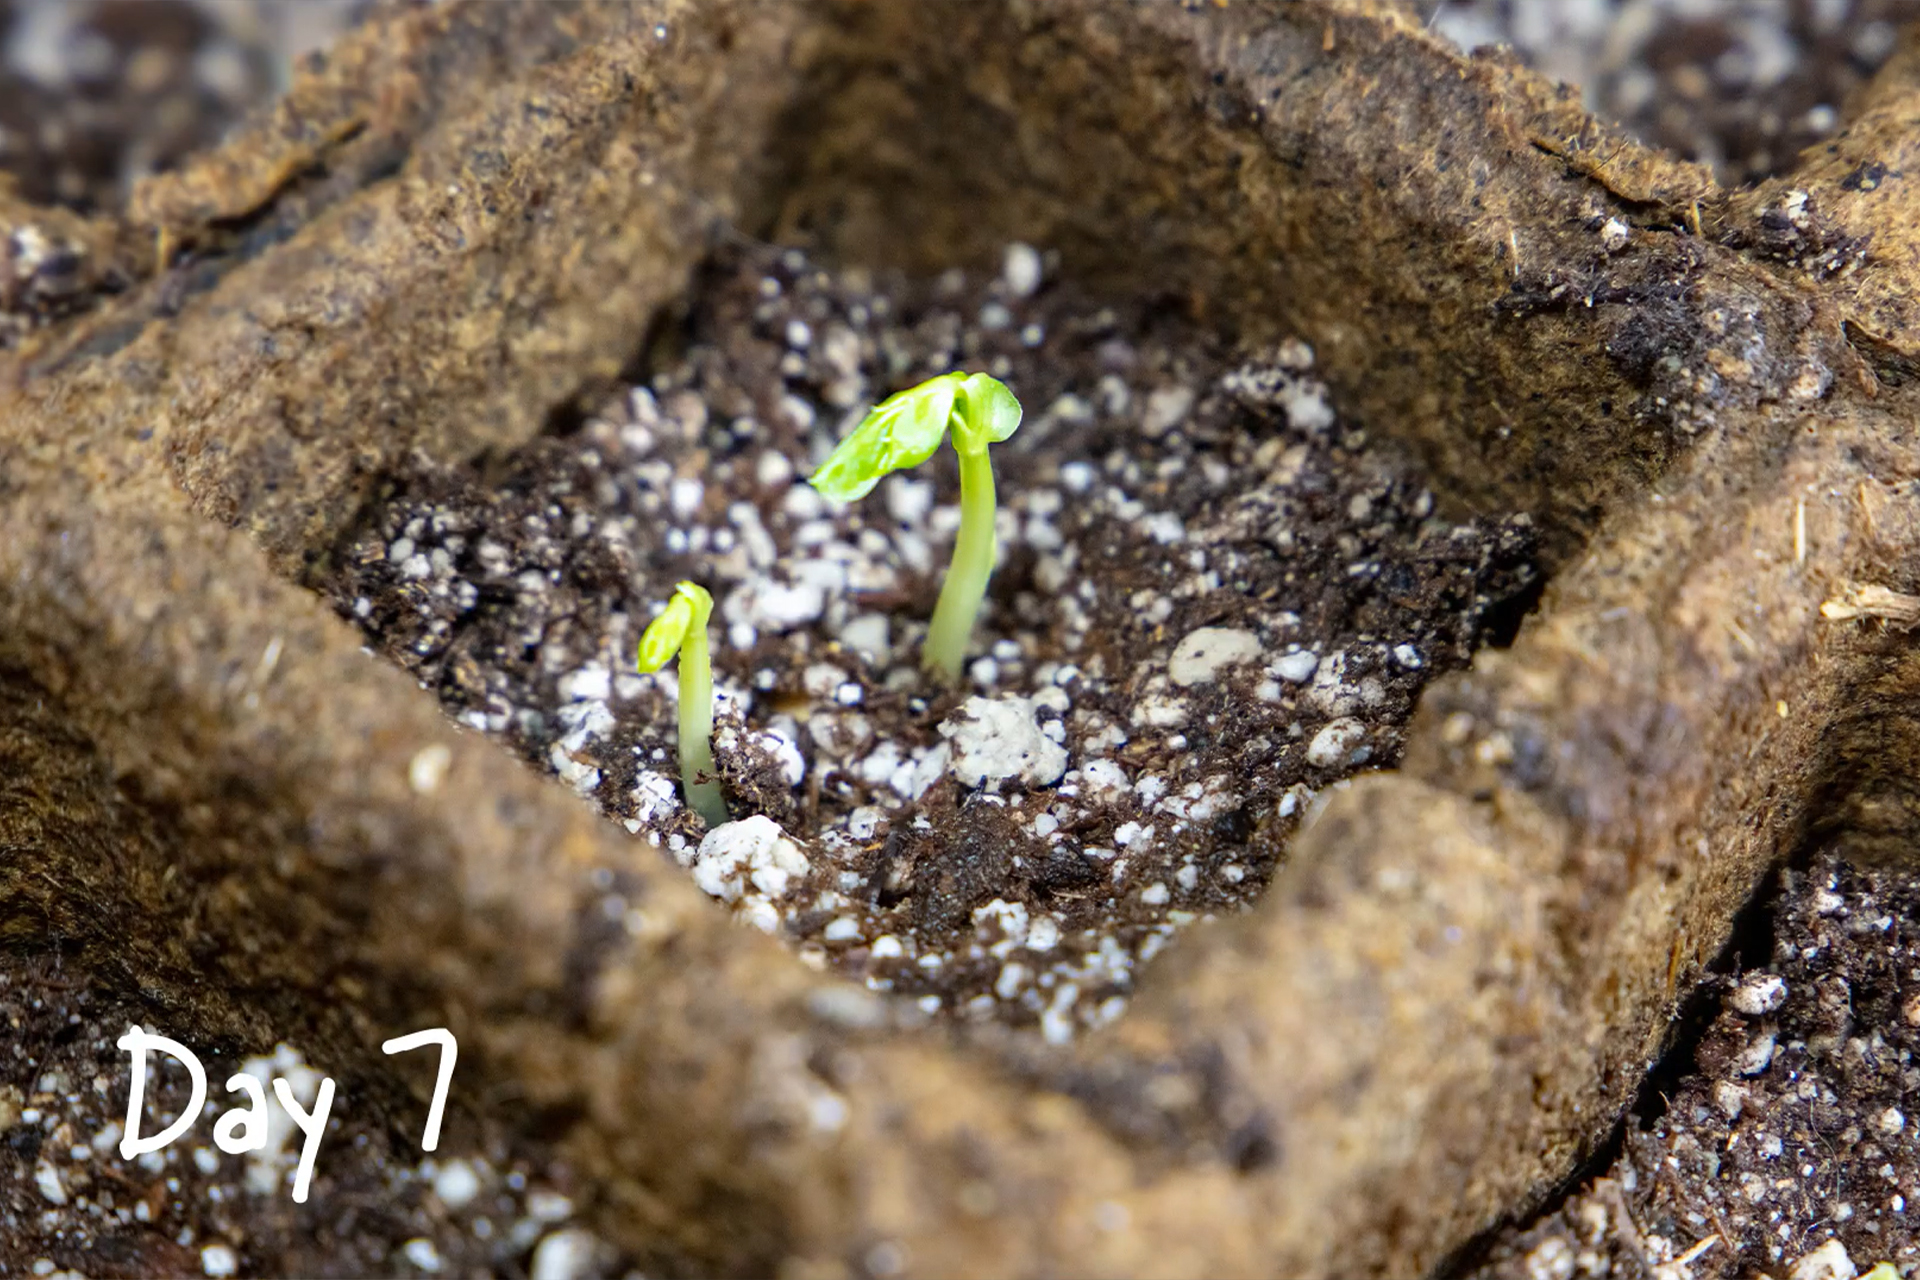
Ready, Set, Seed!
Gardeners, start your seeds! February is the time to get your seeds started to ensure you get the most out of your garden this year. With our cold springs and tendency towards early frosts, starting your plants inside can sometimes be the only way to get a full life out of them, especially for vegetables. So how do you get a start getting your seeds started?
To give your plants the best start possible you need a few things: seed starting planting mix, heat, light, and moisture. The easiest way to start seeds is in a seed starting tray, which is a simple plastic tray, sometimes flat and other times with indents to hold onto little plugs of soil. Either will work the same, it just depends on if you want to use loose soil, biodegradable pots, or pre-made soil plugs so pick whichever one feels easiest to work with to you. Then you add a plastic cover which seals in heat and moisture much like a mini greenhouse. Having this easy to use and compact set-up in a sunny room in your home is a tried and true way to start just about any seed! You can also use a heat mat under the tray to keep your little greenhouse nice and warm to help the germination process, but be careful if you use both a heat mat and direct sunlight as this might make the covered tray too hot for your baby plants. You don’t want to steam your veggies until they’re harvested after all!
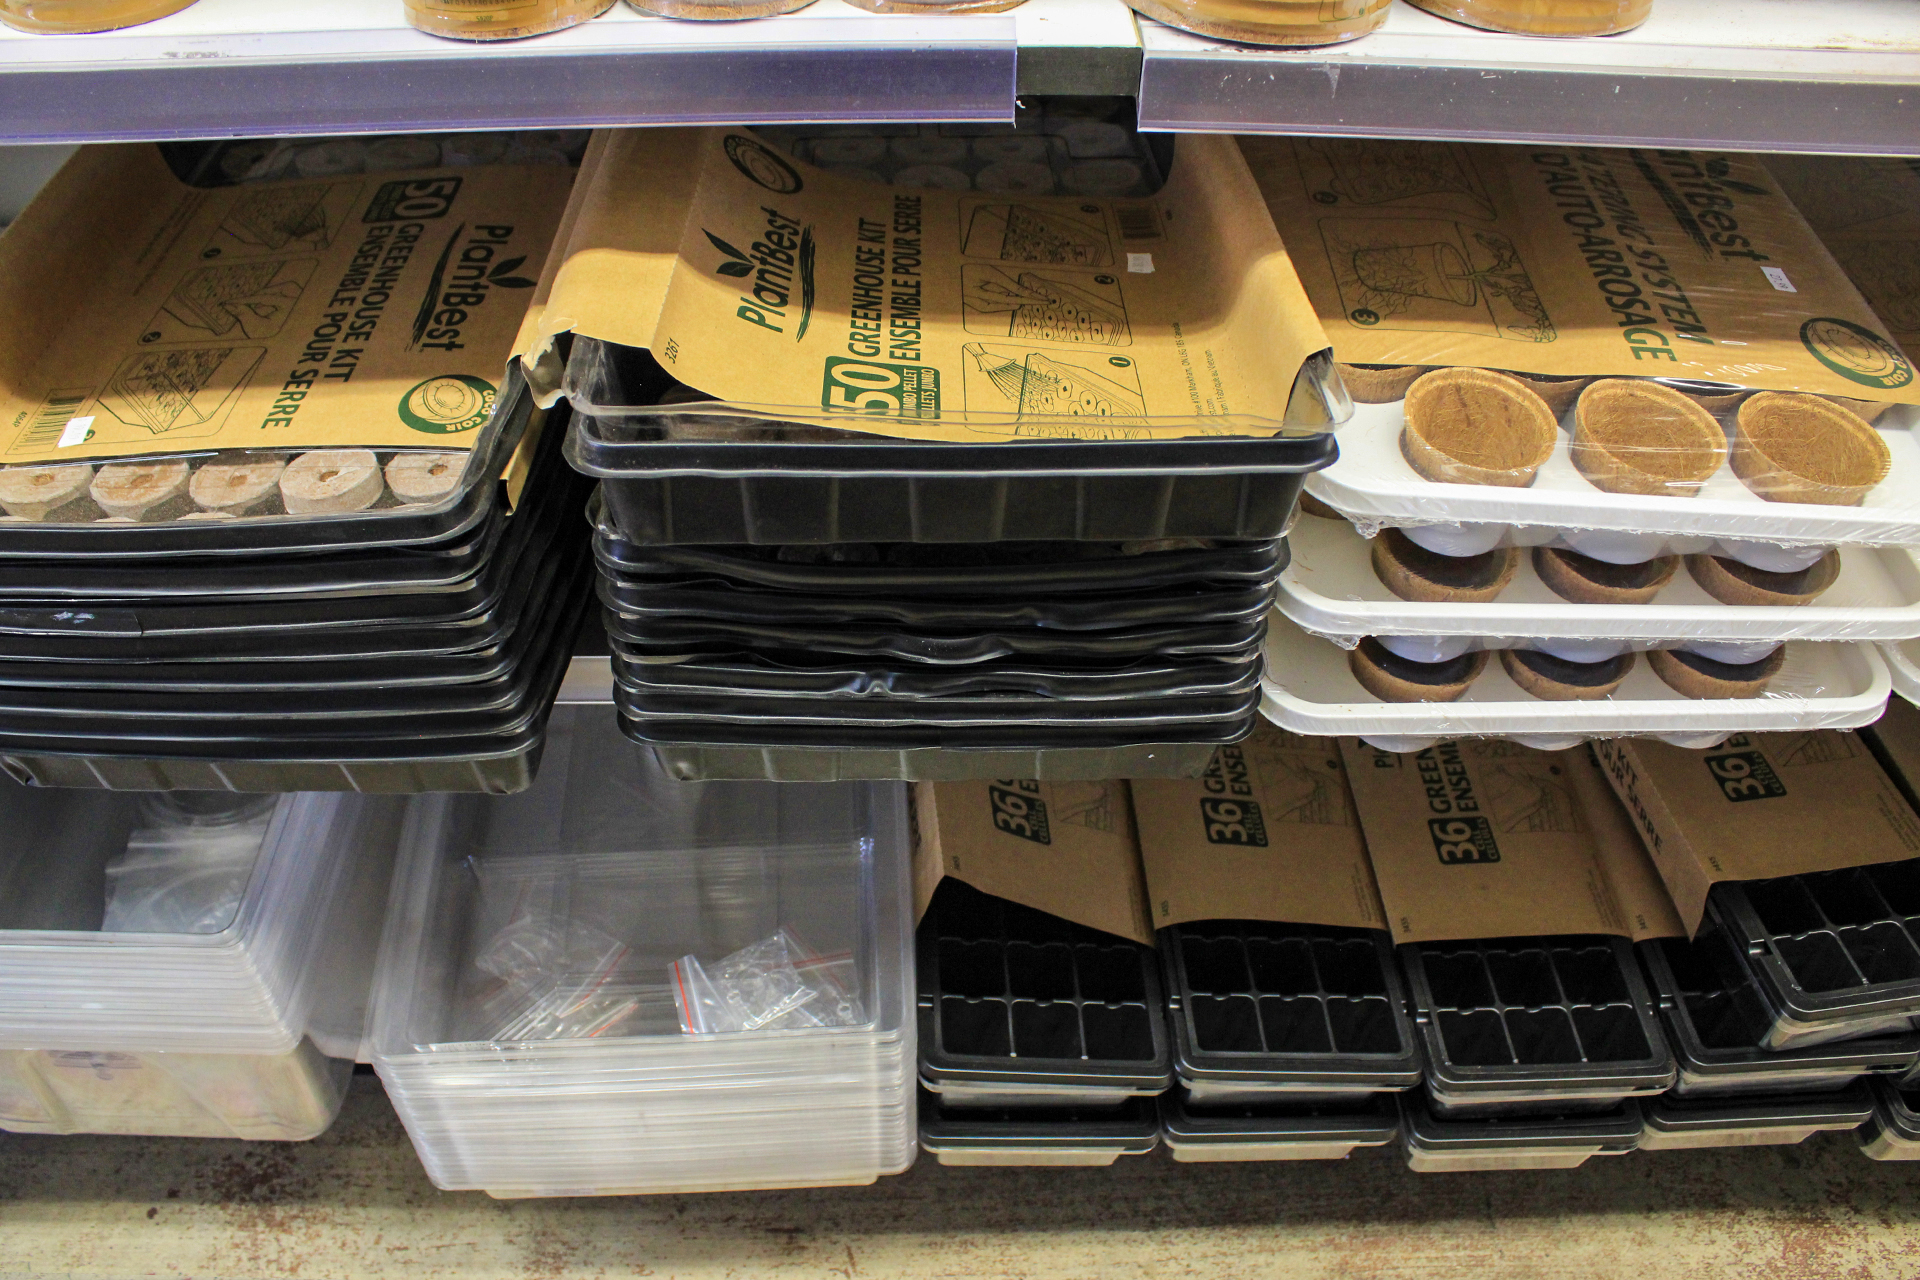
Different types of trays
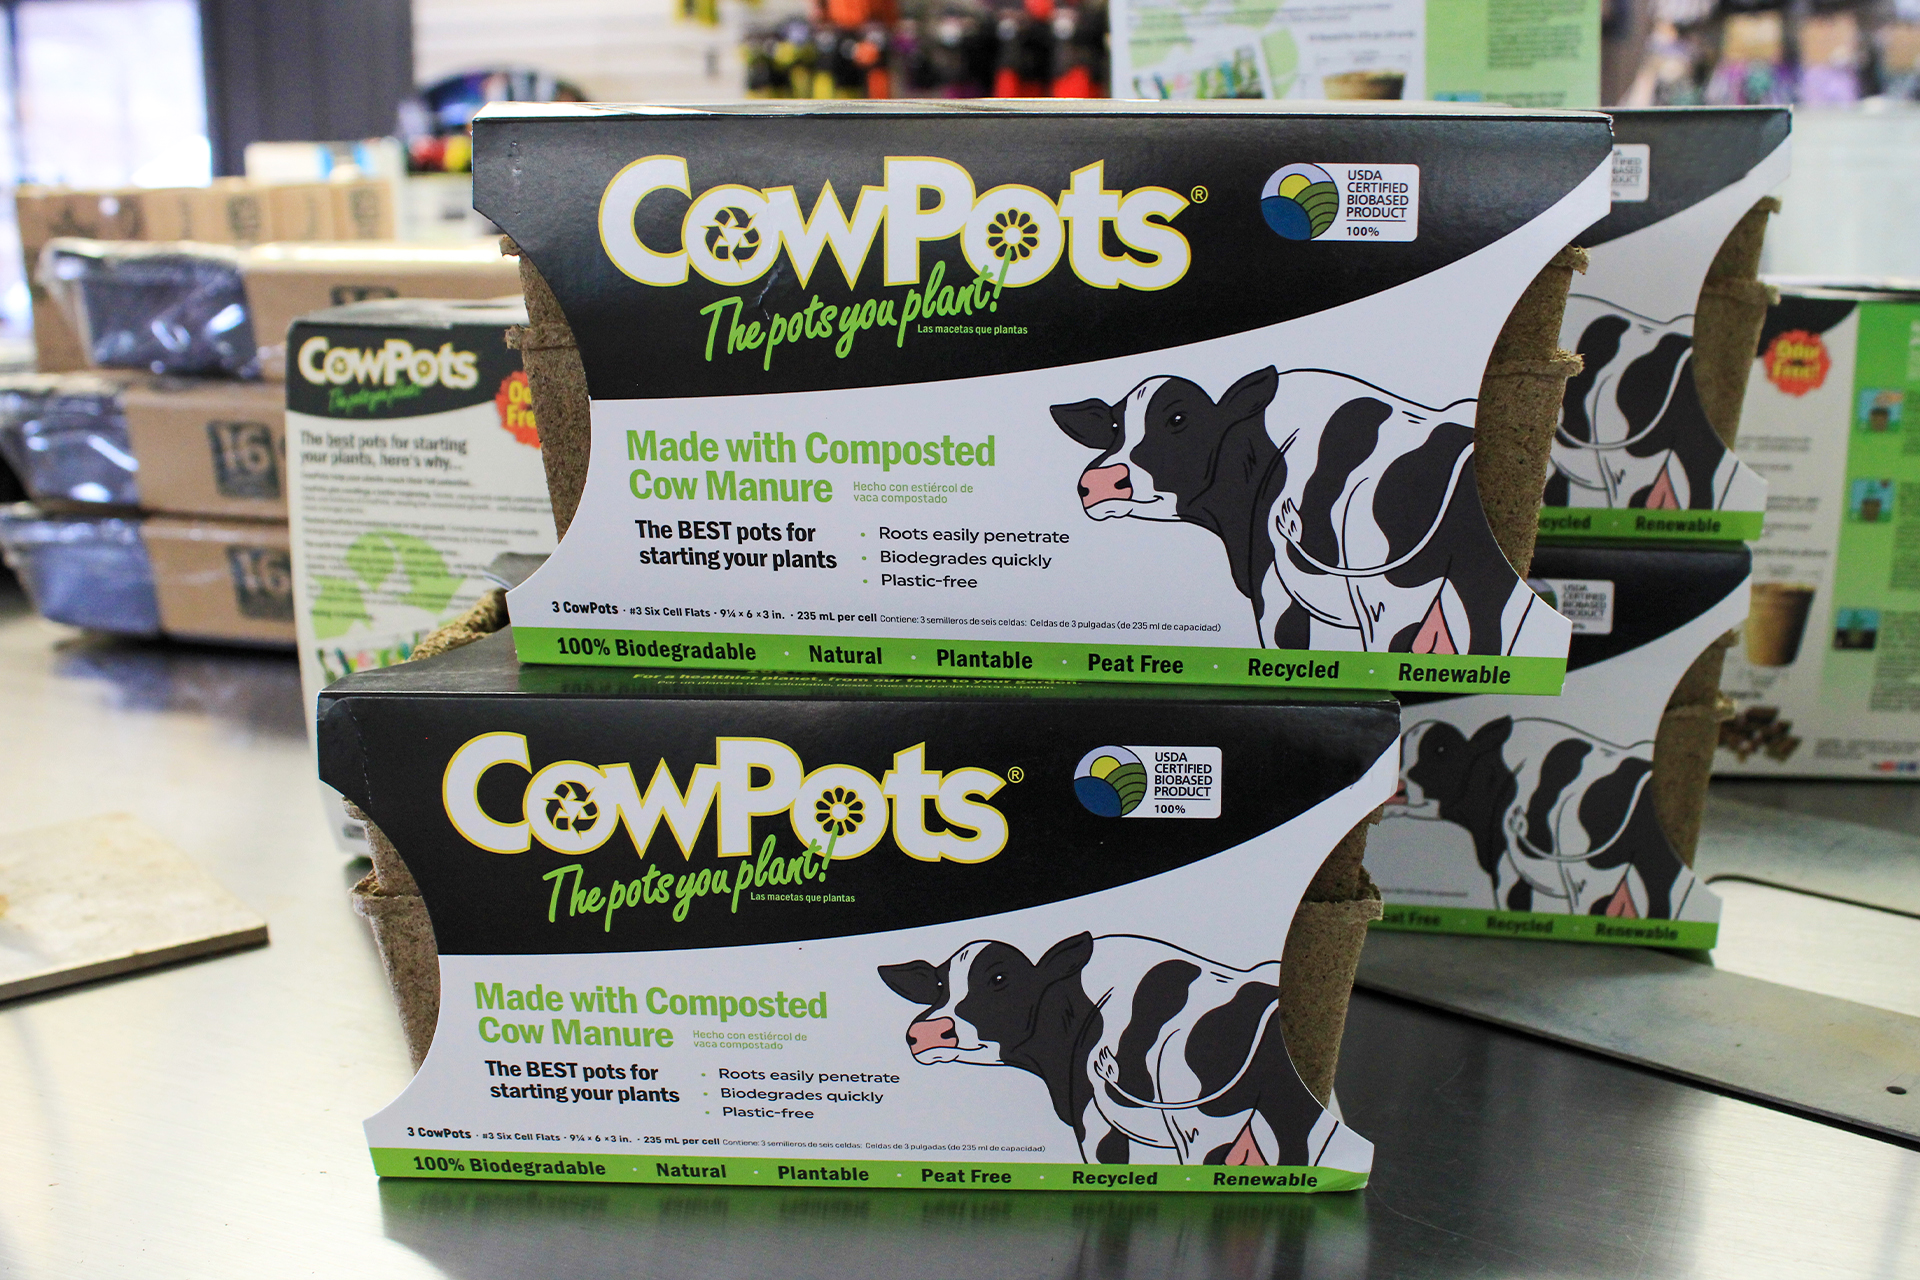
These are the bare essentials, but there are other things you may find beneficial on your seed starting journey. For example, vermiculite is a soil amendment used to cover some types of seeds as they appreciate the extra moisture it holds onto during their germination process. Be sure to look up if the seeds you’re aiming to grow appreciate this extra layer though as some seeds do better with vermiculite than others. Another thing you can use are CowPots which are pots made from composted cow manure that will make transplanting your seedlings to your garden extra easy. These pots are larger than most tray plugs, meaning you can keep your seedlings in them for longer before they get moved out to the garden, plus these pots can be planted right in the soil as they’ll naturally break down while providing nutrients for your growing plants. We also strongly recommend getting frost protection blankets or plant insulators as even the best laid plans and best started plants are laid to waste by our surprise late spring freezes. Having your frost protection before the plants are even outside will save you a panicked emergency trip to the nearest garden center when that inevitable cold snap hits.
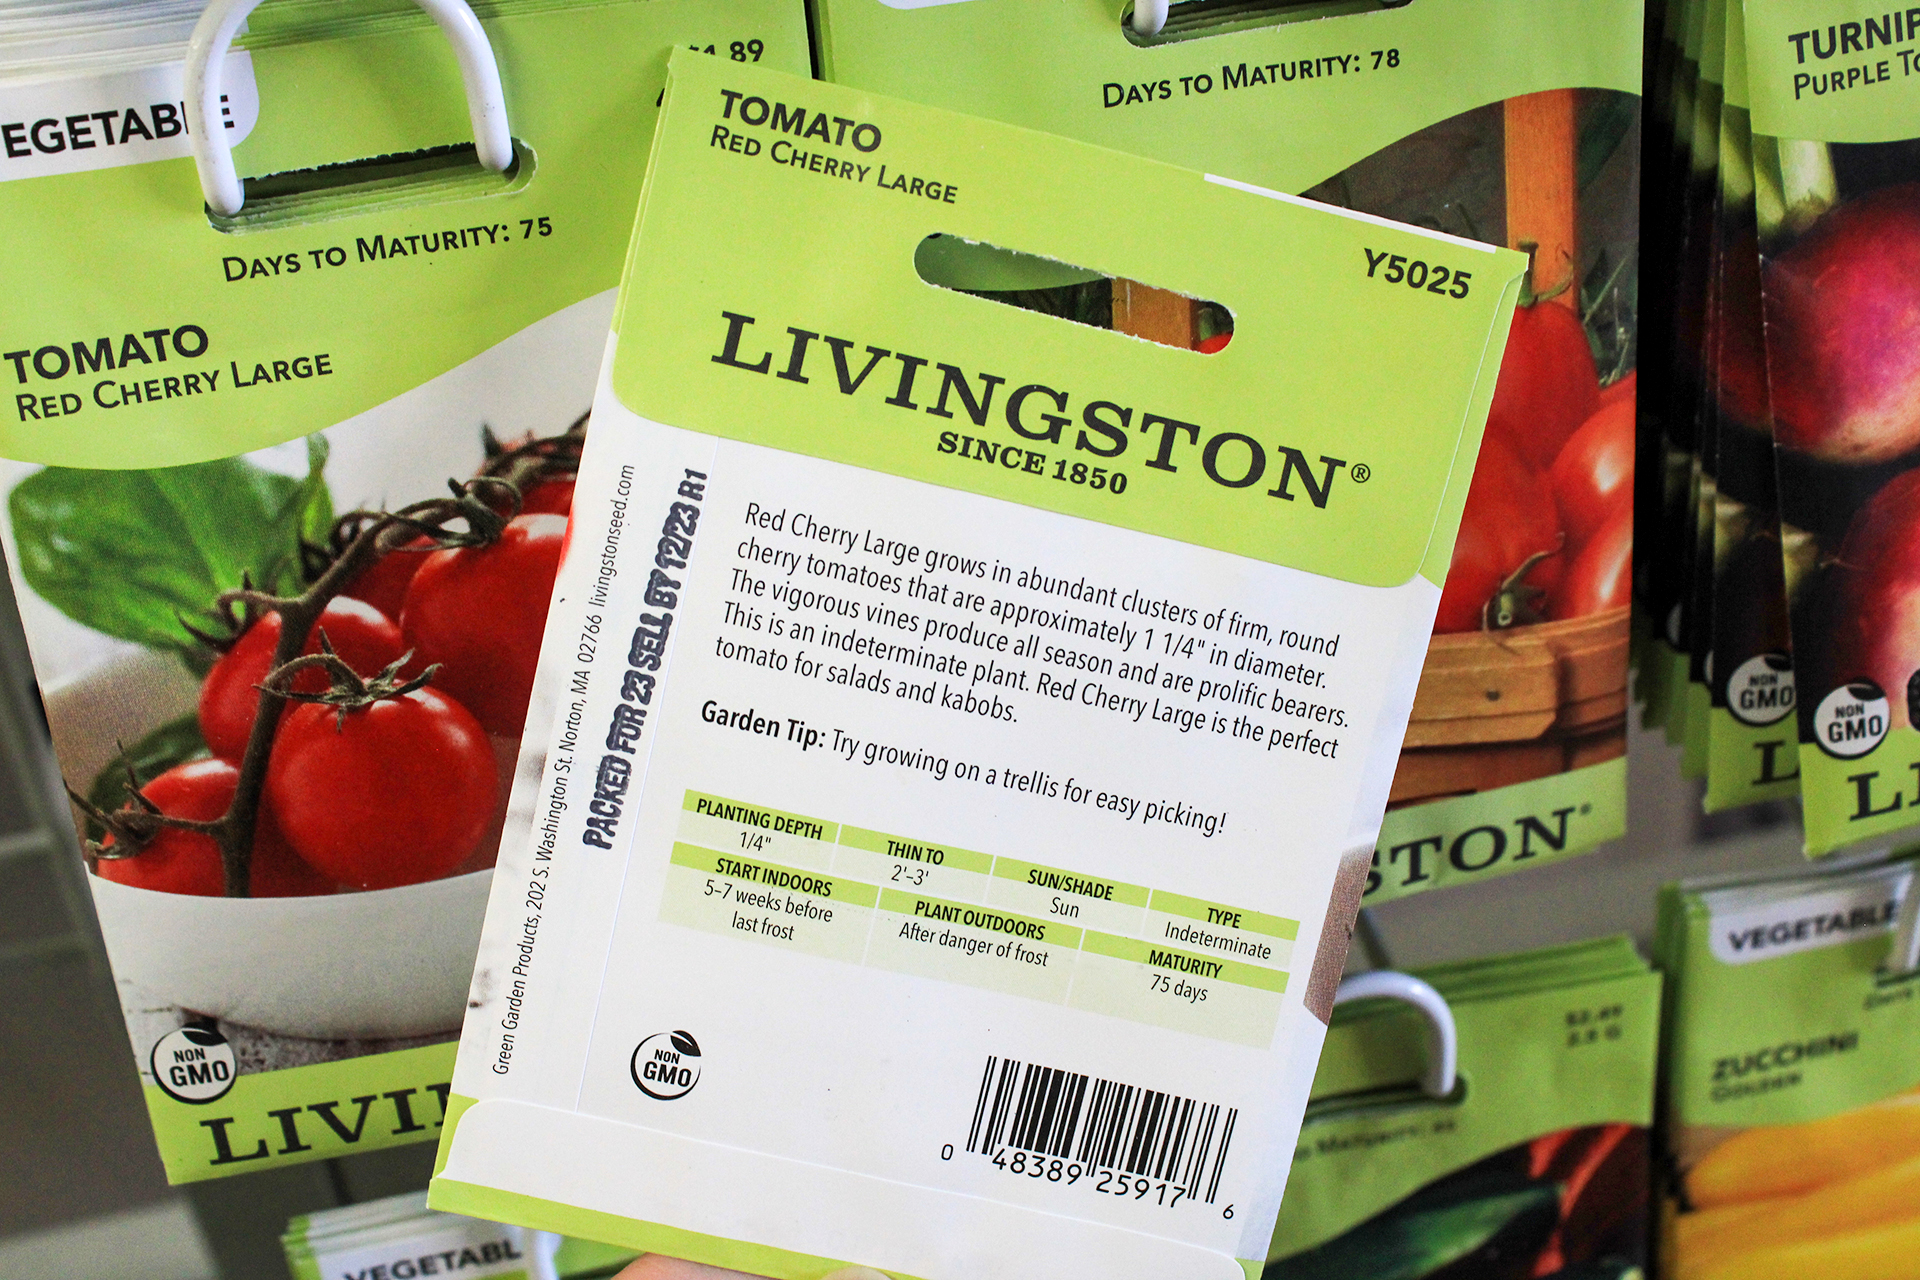
Now that you have all of your materials, it’s time to pick out your seed packets! Decide what you want to do in your garden this year, whether that’s a veggie that you’ve grown successfully year after year or a brand new type of flower you want to try. Keep in mind that there are often many varieties of the same type of plant, such as multiple different kinds of squash or sunflowers each with their own characteristics. Pick the one that works best for you and your garden conditions. Trying to grow a Mammoth Sunflower that gets 10 feet tall on an apartment balcony might not be the best idea, but there are other sunflower varieties that stay a more manageable height. On the flip side, if you have a very shaded yard you might want to pick veggie varieties that can tolerate the lower light if you want the best chance at a bountiful harvest.
Before you get started planting your seeds though, see if you can pre-soak any of the ones you’ve picked out. Pre-soaking seeds is letting them sit in warm water for 12-24 hours to kickstart the germination process. This is usually done for pea, pumpkin, and cucumber seeds, among others. Pre-soaking these seeds will reduce the amount of time they take to sprout, and can even increase how many of the seeds end up germinating. Not all seeds need or like to be pre-soaked though, such as zinnias and tomatoes, so be sure to double check before giving them a dunk.
Once your seeds are ready, it’s planting time! You’d think this is the easiest step, but there are a few things to pay attention to here too. Read the seed packets over for how deep to plant your seeds and how many you can put in each hole. Not every seed will successfully germinate, so putting multiple seeds in the same hole helps save room while ensuring you get the most sprouts possible, however some plants that have very large seeds can usually only handle 2 seeds per hole before they start competing with each other, while smaller seeds can be planted in a larger amount to better use up your space. Once the plants are better established and you can see which ones germinated and are doing better than the others, then you can start thinning them out by removing the seedlings that aren’t as healthy. The seed packets will tell you how far apart each of the remaining plants should be under “thin to” if it’s applicable. There are also different depth requirements for different seeds. Some seeds need to be scattered along the surface of the soil and won’t appreciate being underground at all, while others need a couple inches of depth to develop properly. It varies depending on the seed type, so use the information the seed packets provide you to the fullest.
After you’ve studied up on your seeds, you can do the true planting. Add your dampened seed starter soil, soil filled biodegradable pots, or soil plugs to your tray, plant the seeds according to their packet instructions, put the tray cover on, make sure the tray is in the place you want it and has its heat mat if needed, and then you’re set! Now it’s all about the waiting game, while making sure your seed tray stays warm and moist of course.
Along with checking the seed packet for how deep you need to plant your seeds, be sure to also read them over for light and watering requirements, what size they need to be before you can move them into a dedicated pot or out to your garden, and how long they take to grow. You’ll also want to pay special attention to the growing zone your seeds are for and/or when the packet says to set them outside. Keep a close eye on temperatures as it gets further into spring and when the lows reach above the lowest temperature your seeds can survive for their zone or the threat of frost has passed, you can begin slowly transitioning the new plants to being outdoors. Do this in increments so you don’t kill off your sprouts, and don’t forget to grab some form of frost protection in case a cold snap comes through.
Speaking of cold weather, some plants will be thankful to stay in your home for a little extra time. Warm weather veggies that are especially intolerant of the cold and plants that have very long growing times that leave them vulnerable for more of the lifespan, such as pumpkins, may appreciate getting to hang out inside even after your other seedlings have already been moved out. Make sure to read up on what you specifically are growing to understand any care requirement nuances such as these that may otherwise cut your season short. Growing your plant knowledge is just as important as growing your plants if you want a successful garden.
After you’ve studied up on your seeds, you can do the true planting. Add your dampened seed starter soil, soil filled decomposable pots, or soil plugs to your tray, plant the seeds according to their packet instructions, put the tray cover on, make sure the tray is in the place you want it and has its heat mat if needed, and then you’re set! Now it’s all about the waiting game, while making sure your seed tray stays warm and moist of course.
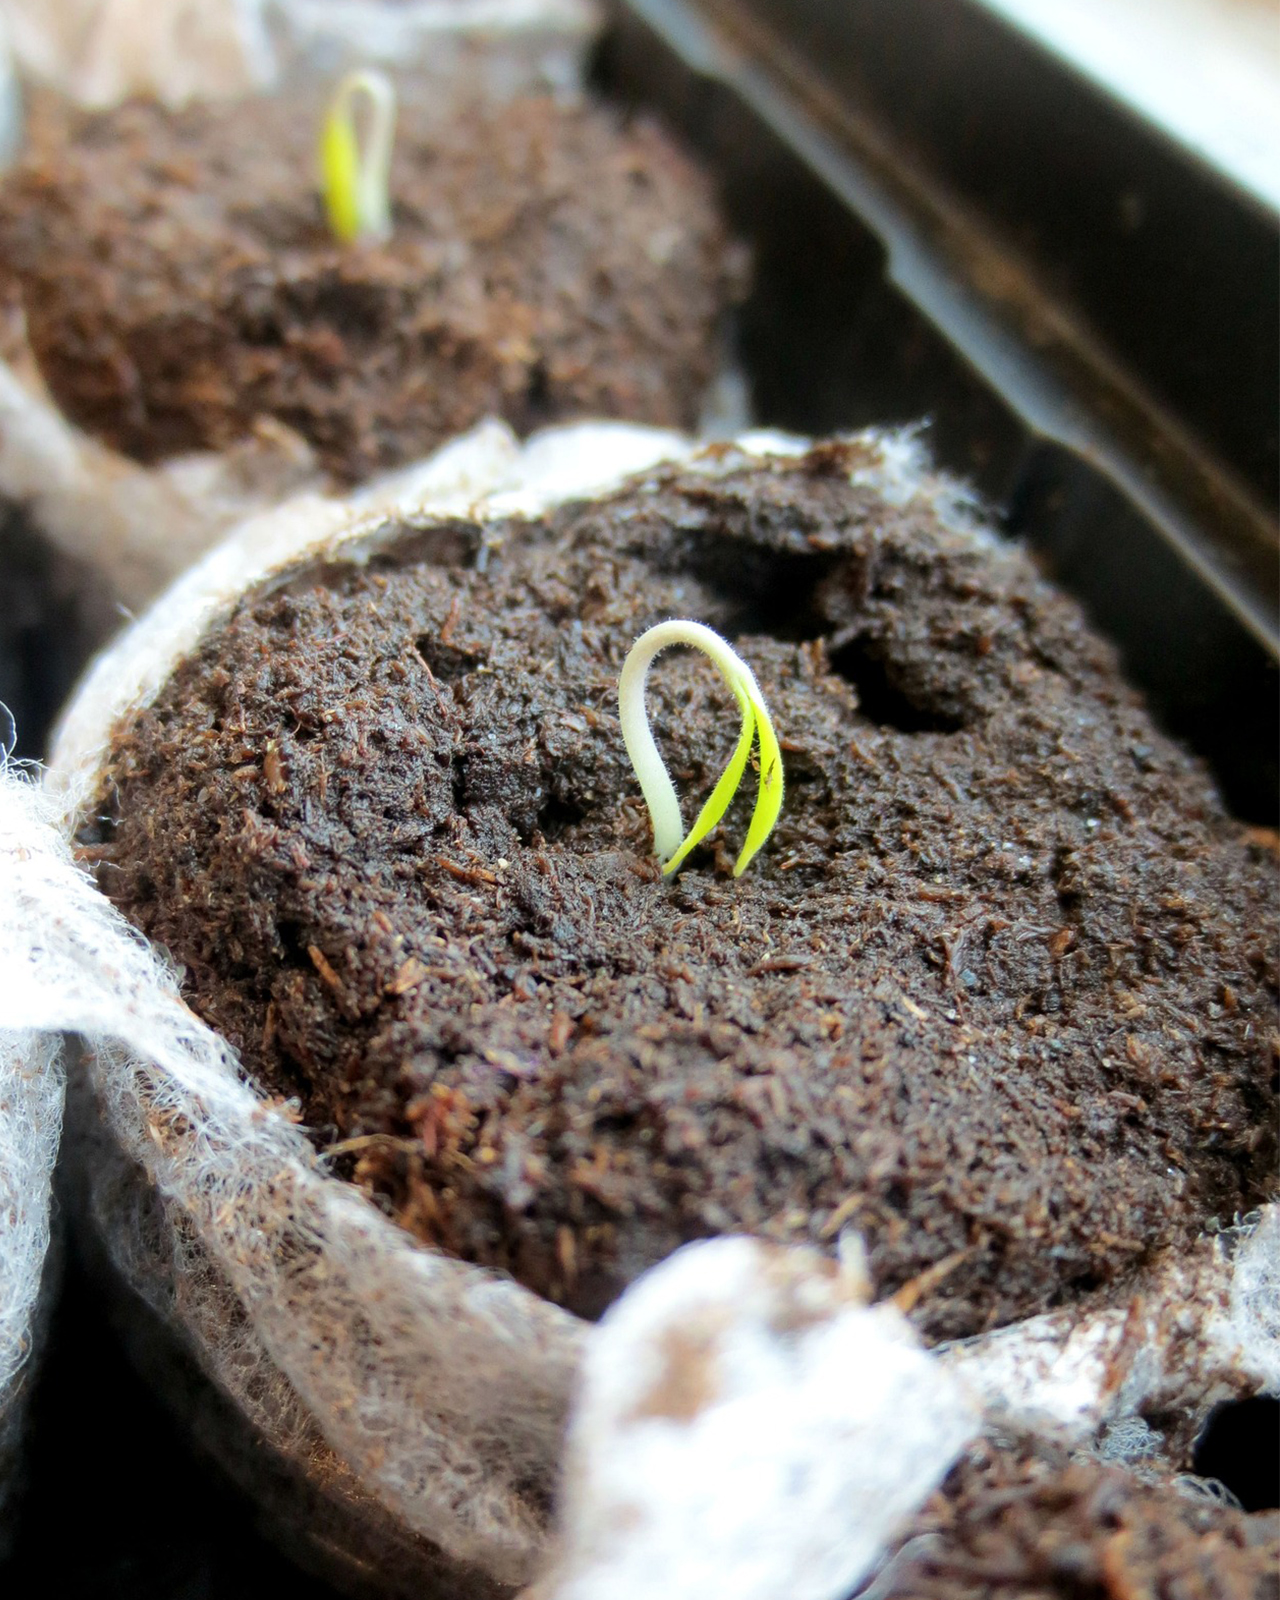
With all the work out of the way, it’s time to kick back and enjoy the future fruits of your labor as they start sprouting! Want to see the step-by-step seed planting process as well as a sweet sprouting time lapse? Check out this peas-ful seed starting video with Plant Doctor Michael Roth. Happy growing!
If you have any questions, stop by any one of our three Moana Nursery garden centers or contact us online.
Share
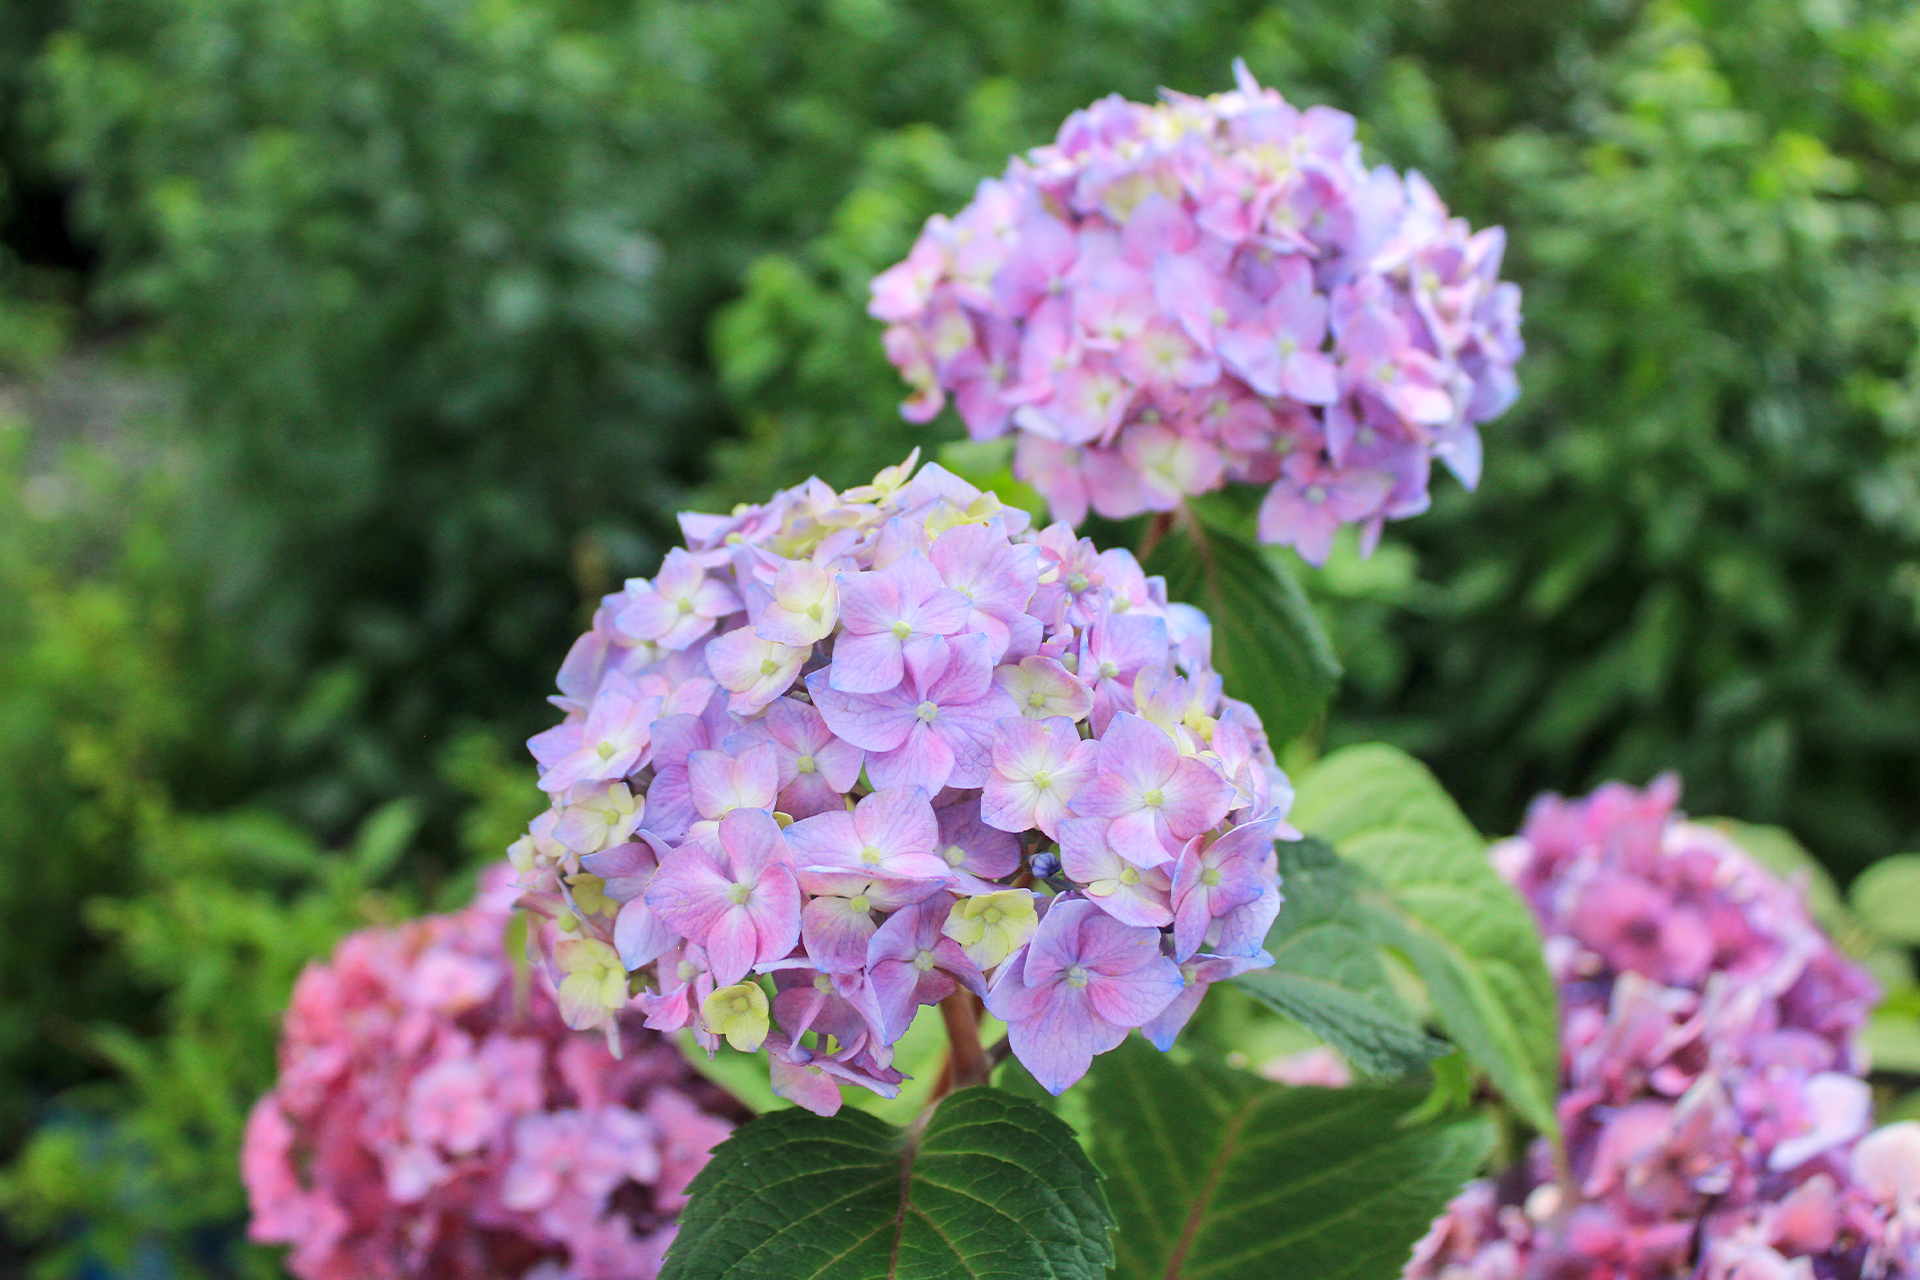
By understanding the specific needs of each hydrangea variety, you can ensure they thrive and continue to enchant with their seasonal displays year after year.
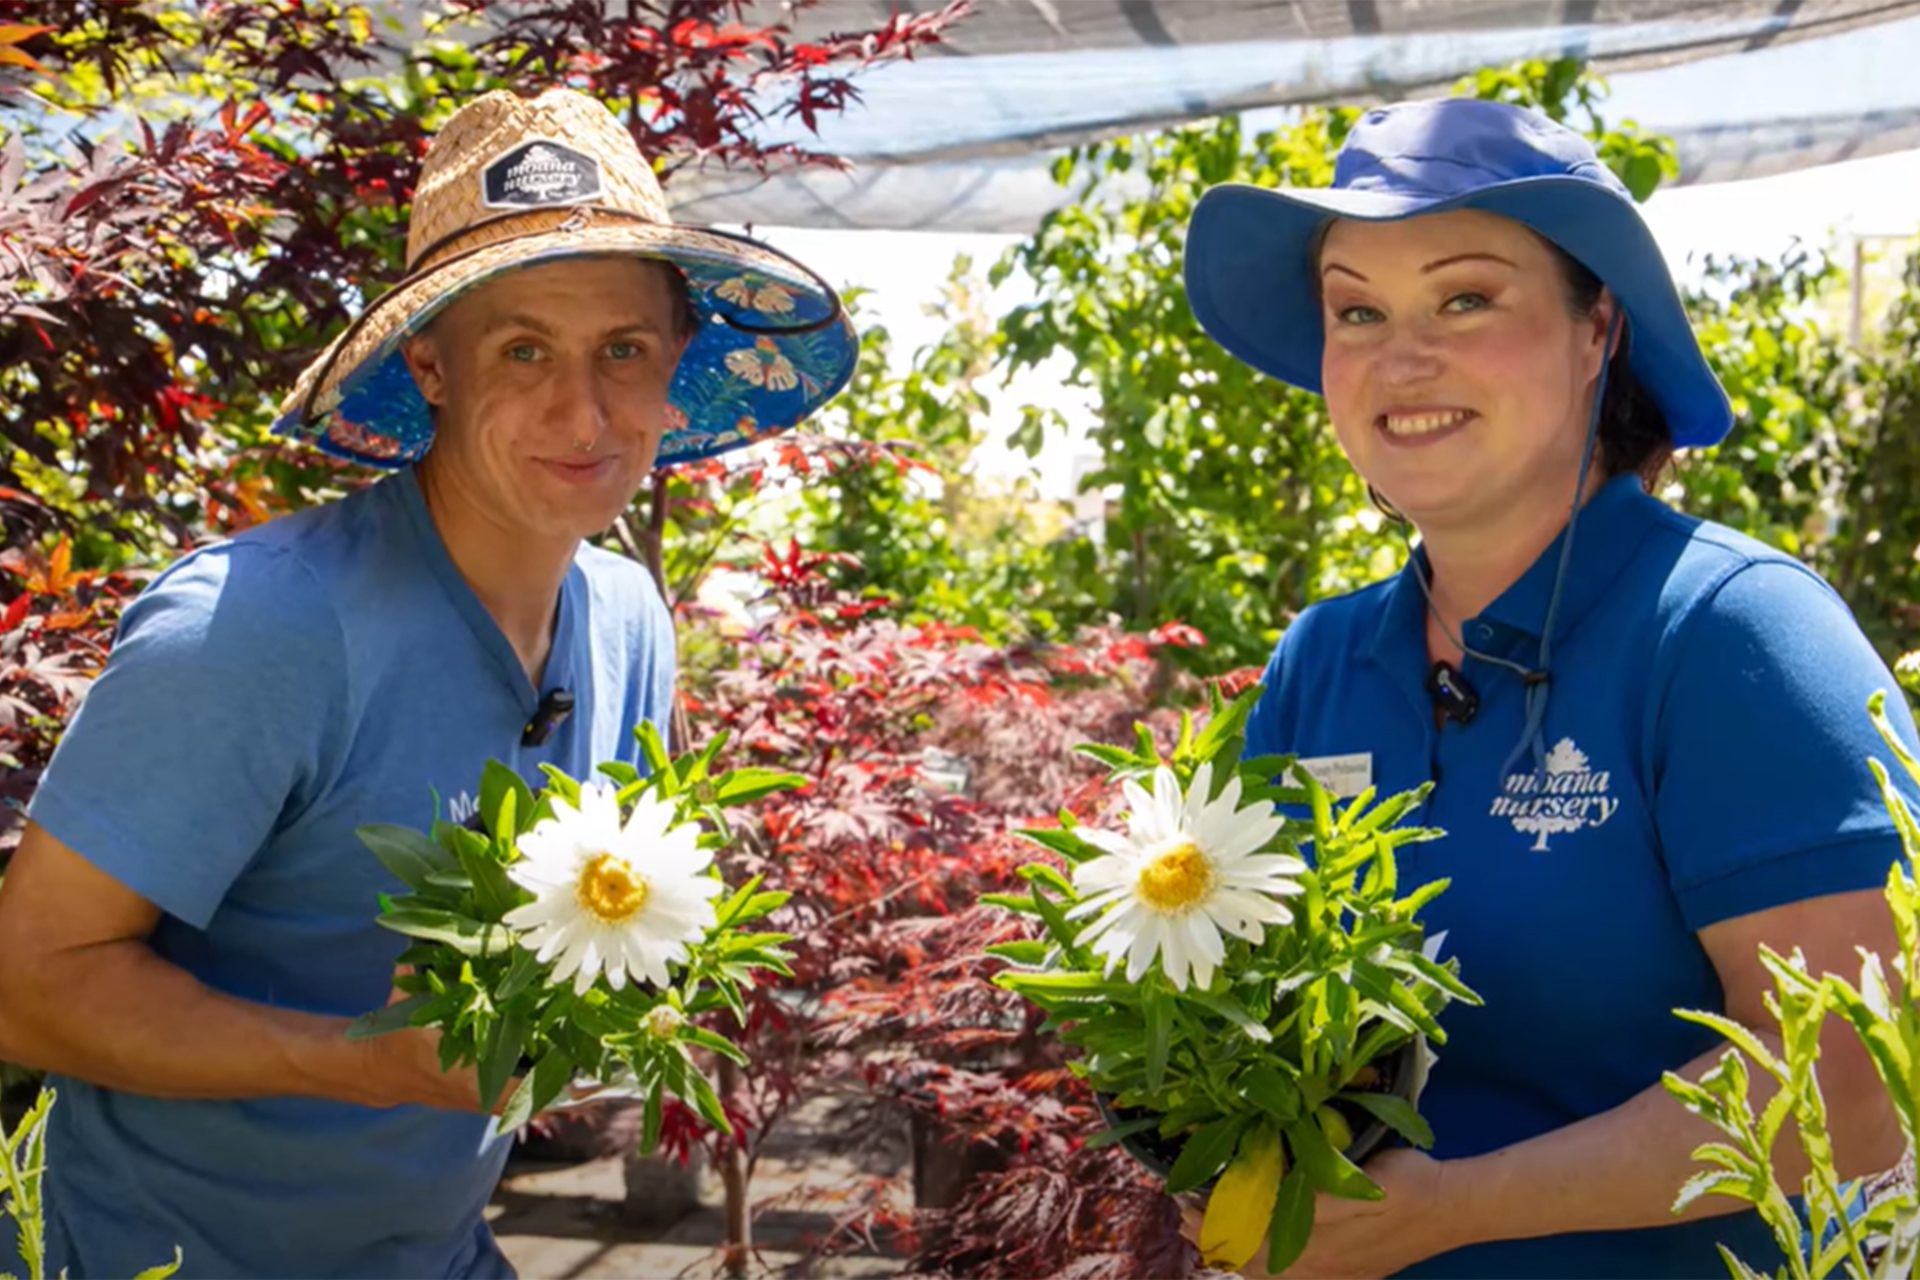
Shasta daisies are a testament to the beauty and resilience that can flourish in the high desert, enhance your garden with their elegance.
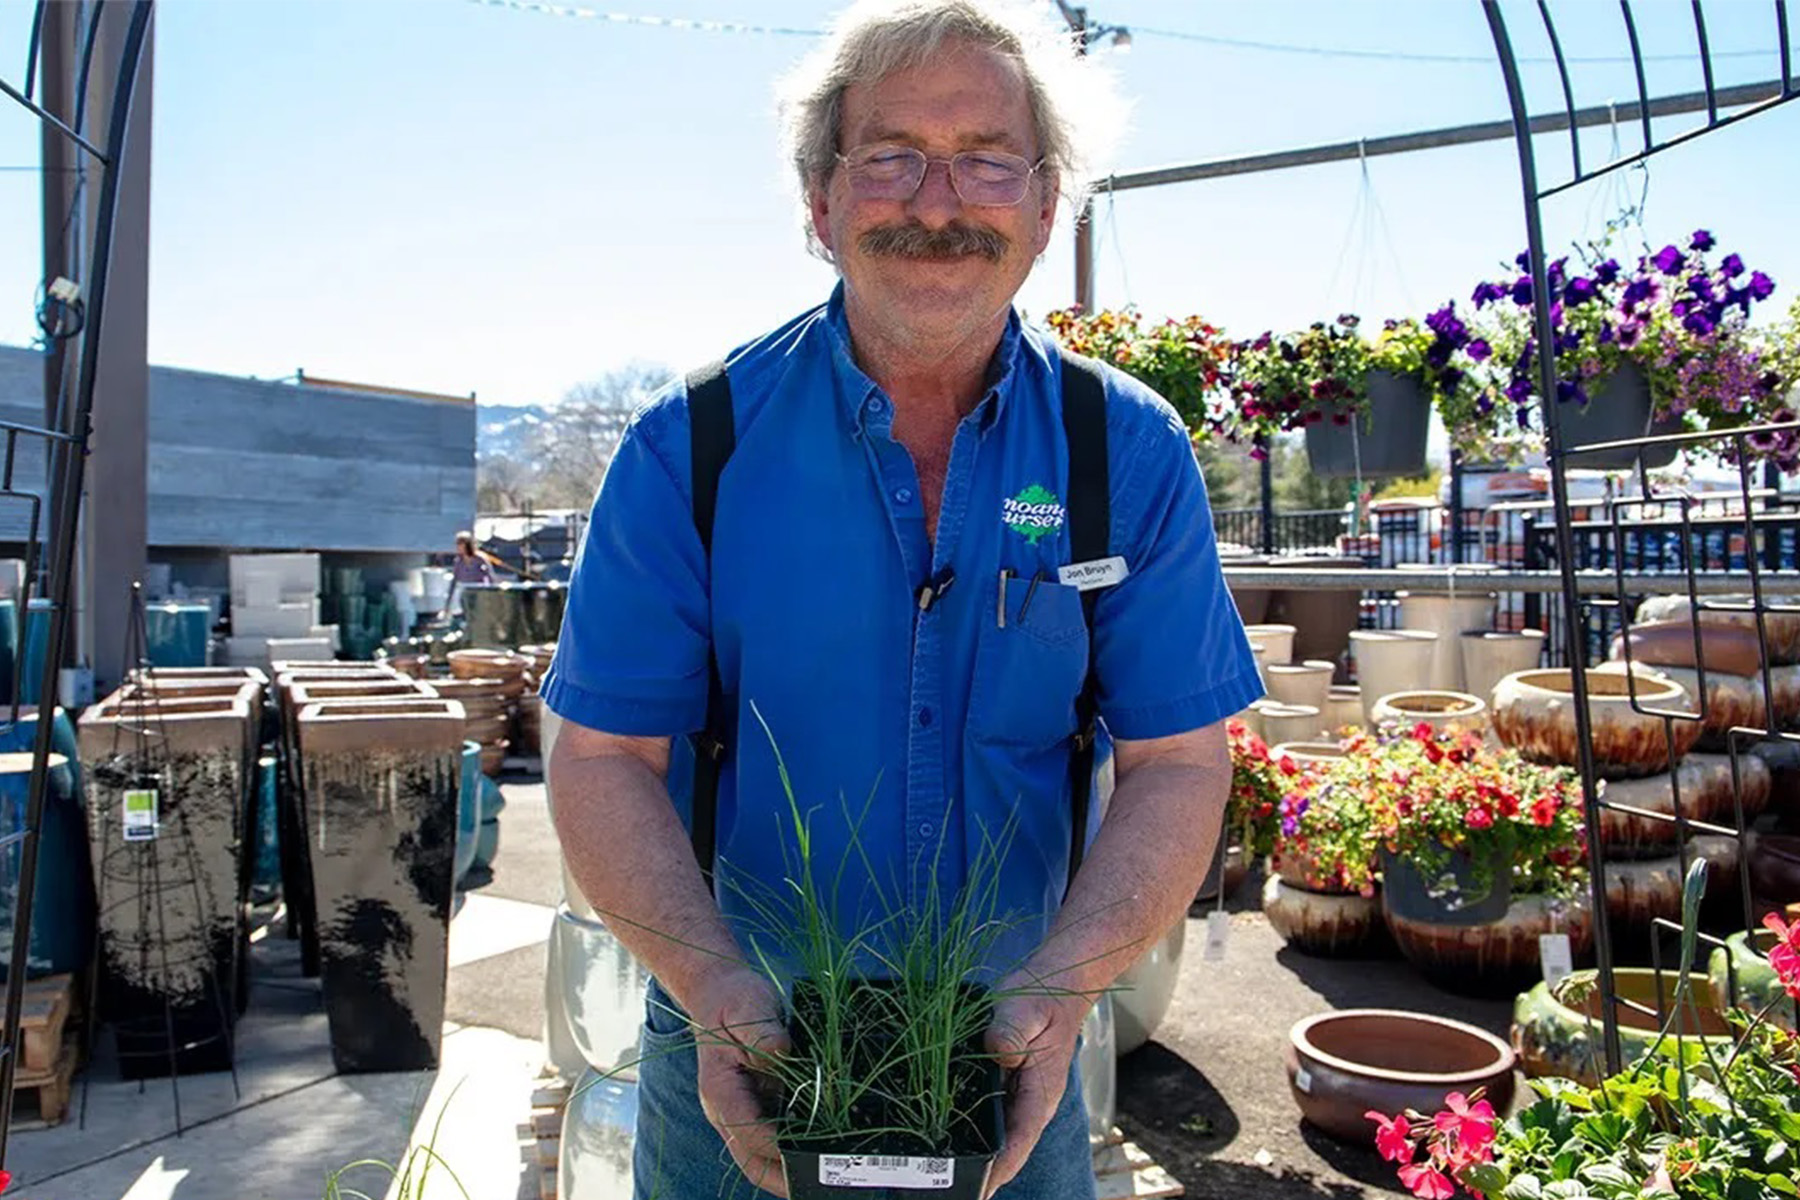
In a world filled with artificial flavors and processed foods, cultivating your own herb garden offers a return to authenticity.
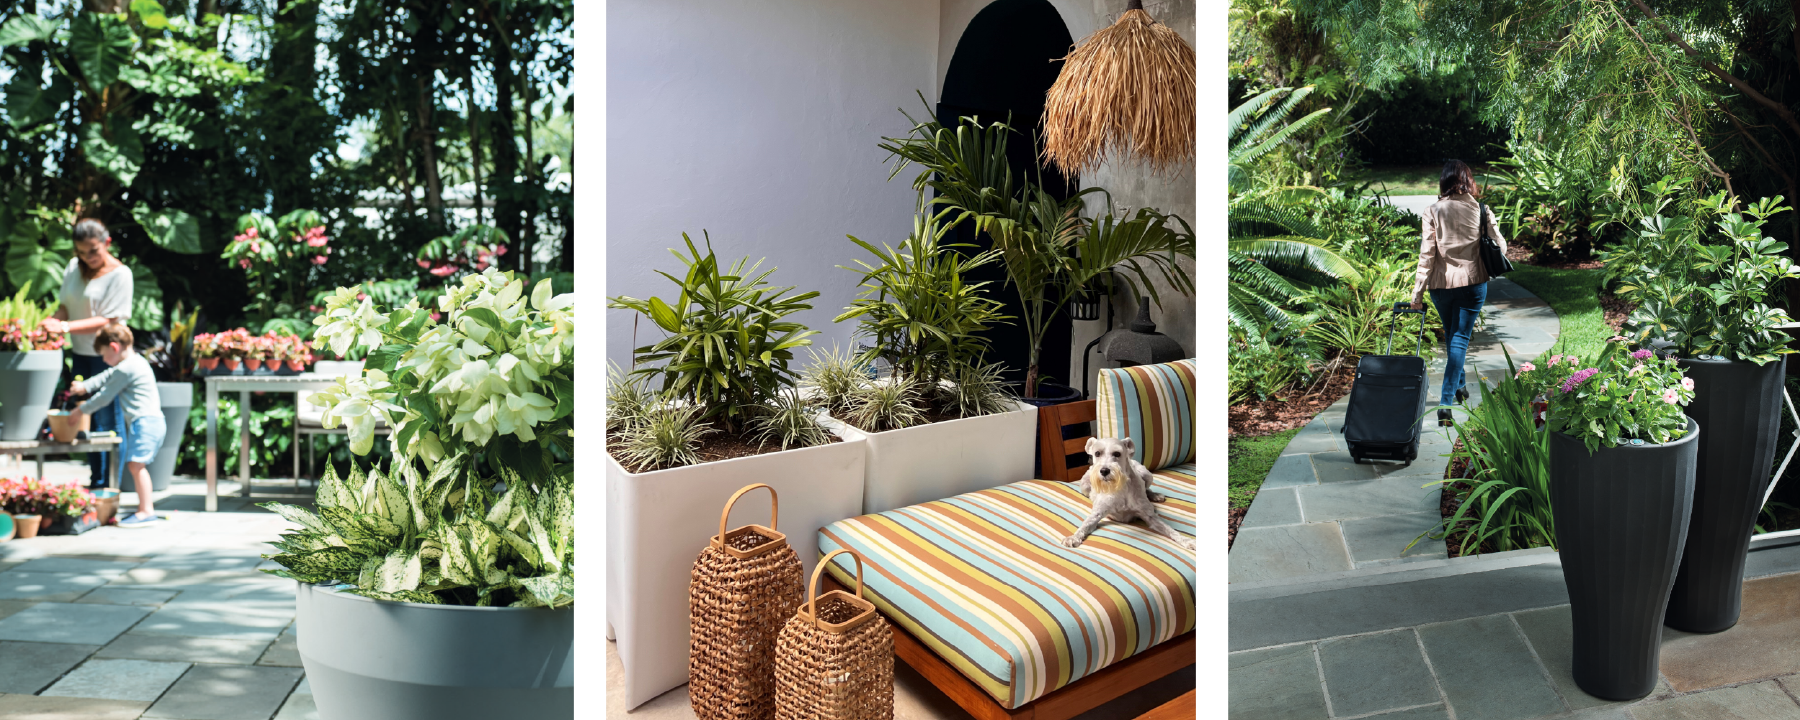
Let's delve into the world of self-watering pots and explore how they're changing the landscape of gardening.
